
Documentation/Account & billing
Custom sending domains
Verify your own domain — the biggest single deliverability win.
Sending from your own verified domain tells inbox providers your mail is legitimate. It is the single most important setup step for getting into the inbox instead of the spam folder.
Add and verify a domain
Open Account → Domains
Under Add New Domain, enter your domain name — e.g. yourcompany.com.
Click ADD DOMAIN
It appears under Your Domains with a Pending status.
Show DNS records
Click Show DNS Records on the domain to see what you need to add.
Add the records at your DNS provider
Copy each record (there's a copy button for each) and add it wherever you manage your domain — Cloudflare, GoDaddy, Route 53, and so on.
Wait for propagation
Usually minutes, but it can take up to 24–48 hours.
Click Verify
Once the records are found, the domain becomes Verified and you can add sender addresses on it.
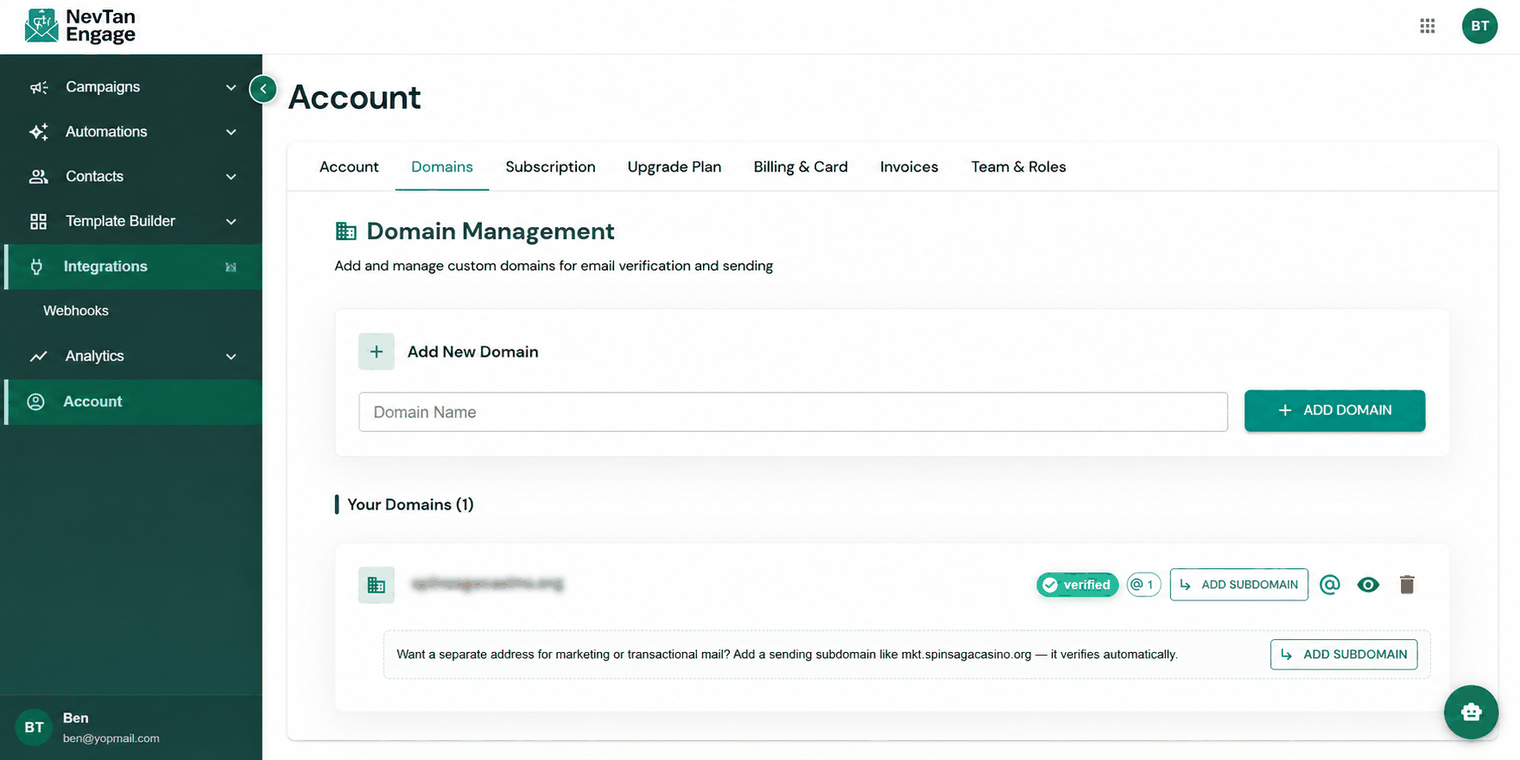
Your sending domains
You must verify the domain before you can add sender email addresses to it.
What the records do
| Record | Purpose |
|---|---|
| SPF | Lists which servers may send mail for your domain — prevents spoofing |
| DKIM | Cryptographically signs your emails so recipients can verify they weren't tampered with |
| DMARC | Tells inbox providers what to do with mail that fails SPF/DKIM, and sends you reports |
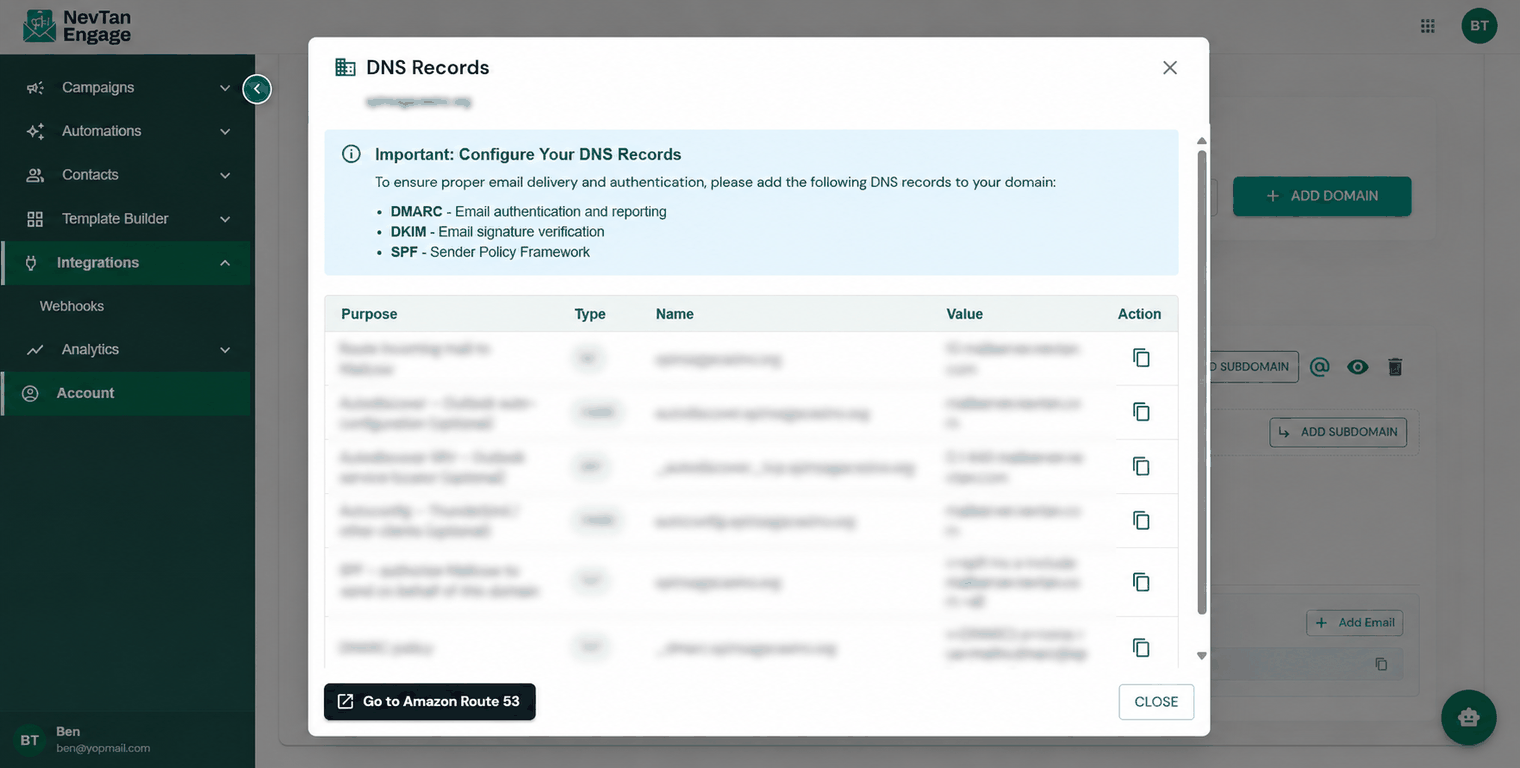
SPF, DKIM and DMARC records
Each domain shows its DKIM Status so you can confirm signing is active.
The home dashboard links straight here. Before you add a domain the card reads Setup Custom Domain for Email Delivery; once one is added it becomes Almost there — verify your domain and names the domain that is waiting, with a Verify Domain Now → button. If verification has already failed it says so instead, and points you back at your DNS provider. The card stops appearing once a domain is verified.
Troubleshooting
| Problem | Fix |
|---|---|
| Still pending after adding records | DNS can take up to 48 hours — wait, then click Verify again |
| Verification keeps failing | Check for typos, and make sure your DNS provider didn't auto-append your domain to the record host |
| Records look right but still fail | Some providers need the host set to @ for root-level records |
Custom domains require a Standard plan or above.